You don't need a remodel to fix a tiny kitchen — you need a system. Most small kitchens aren't actually too small; they're just organized as one big pile instead of distinct zones. No renovation, no contractor, no landlord permission needed. Here's how to make a tiny kitchen feel twice as big with zones, vertical storage, and a few cheap upgrades.
1. Divide the kitchen into zones
Professional kitchens run on zones, and so should yours. Even in 40 square feet, grouping items by task eliminates the constant digging and reshuffling that makes a small kitchen feel chaotic.
The three zones that matter
- Prep zone: cutting boards, knives, mixing bowls, and measuring tools — stored closest to your main counter space.
- Cook zone: pots, pans, cooking utensils, oils, and the spices you actually use — kept within arm's reach of the stove.
- Store zone: dry goods, canned food, snacks, and backup supplies — wherever your pantry area is (more on that below).
Walk through your kitchen and physically move items into their zones. If your spatula lives three cabinets away from the stove, that's friction you feel every single day. Before organizing anything, do a quick pass through the cabinets with our room-by-room decluttering checklist — organizing duplicates and expired food is wasted effort.
2. Use the vertical space you're ignoring
Counter space is fixed, but wall space is almost always underused. Moving storage upward is the single fastest way to free counters.
Wall-mounted rails and hooks
A metal rail with S-hooks under your cabinets or on a bare wall holds cooking utensils, mugs, and small pots. It turns a blank wall into the equivalent of a drawer — and everything stays visible and grab-able. For renters, the same trick works with heavy-duty adhesive hooks; see these renter-friendly storage ideas for damage-free options.
Shelf risers inside cabinets
Cabinet shelves are usually spaced for the tallest item, which wastes the air above everything else. Inexpensive wire or bamboo shelf risers create a second level inside the cabinet — mugs below, small bowls above. One riser per cabinet can nearly double usable space.
Magnetic strips for knives and spices
A magnetic knife strip on the wall frees an entire drawer or counter block. Small magnetic spice jars on the fridge side or a steel board do the same for spices. Both cost a few dollars and install without tools.
Look at the 6 inches above your upper cabinets. In many kitchens that's dead space — but shallow baskets up there are perfect for rarely used items like holiday platters, the turkey roaster, or backup paper goods.
3. Turn cabinet doors into storage
The inside of every cabinet door is free real estate. This is where tiny kitchens win back the most space per dollar.
- Door-mounted racks hold cutting boards, baking sheets, and wraps (foil, plastic wrap, parchment) upright instead of stacked and sliding.
- Small adhesive bins on the door interior corral spice packets, tea bags, or trash bags.
- A lid organizer mounted inside the door below the pots cabinet ends the eternal lid avalanche.
- Command-style hooks inside doors hold measuring cups, oven mitts, and cleaning brushes.
Start with the cabinet under the sink — it's usually the most chaotic spot in a small kitchen. A tension rod across it holds spray bottles by their triggers, freeing the floor of the cabinet for a small bin of sponges and cloths.
4. Conquer drawers with simple dividers
A tiny kitchen often has one or two drawers total, so each one has to work hard. The enemy is the junk-drawer effect: everything tossed in together, nothing findable.
Divider rules for small drawers
- Adjustable bamboo or plastic dividers split a drawer into utensil lanes — no more digging through a tangle of tools.
- Small trays or ramekins inside a drawer create micro-zones for bag clips, twist ties, and batteries.
- Vertical utensil storage: stand cooking utensils in a tall crock on the counter instead of a drawer — it frees the drawer for flat items and keeps tools visible.
- The one-drawer test: if a drawer can't close easily, something in it doesn't belong. Remove the duplicates first — the second peeler, the third pair of tongs.
Decant nothing until you've decluttered. Pretty matching jars look great, but they're pointless if they're holding five-year-old spices. Declutter first, containers second.
5. Build a pantry without a pantry
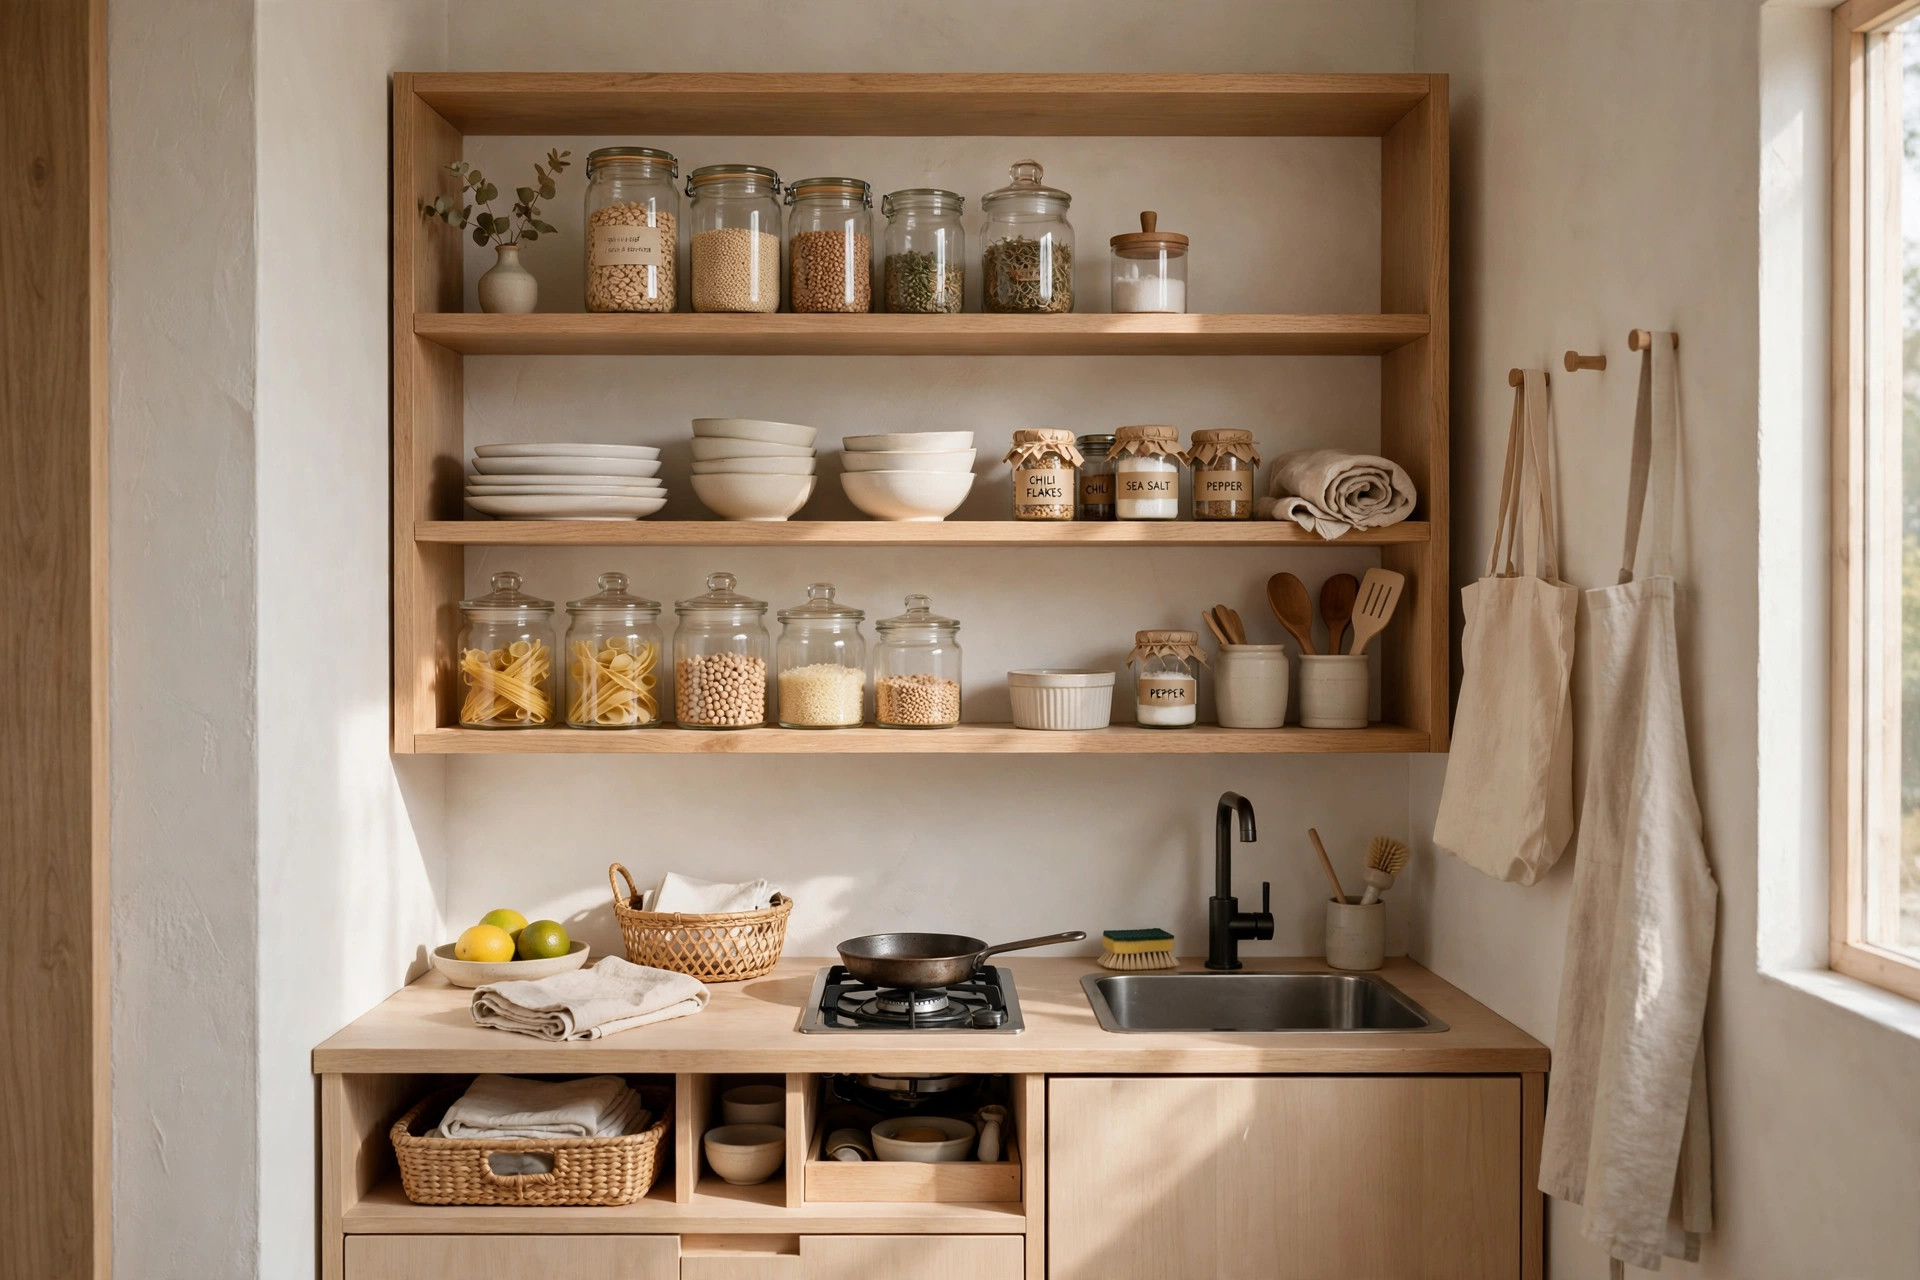
No pantry closet? You don't need one. A pantry is a concept — a dedicated zone for dry goods — not a room.
Pick your pantry format
- One dedicated cabinet or shelf becomes the pantry. Clear containers grouped by category (grains, canned goods, snacks, baking) with simple labels.
- A slim rolling cart slides into the gap between the fridge and the wall — a classic tiny-kitchen move that creates a full pantry column in 6 inches of space.
- Over-the-door pantry rack on the kitchen or pantry-adjacent door holds cans and jars two deep.
Whatever format you choose, keep it curated: a small pantry only works if it holds what you actually cook. The same quick-declutter thinking from the 20-minute closet declutter applies here — set a timer, pull everything out, toss the expired and the "someday" items, and only put back what earns its space.
6. Set countertop rules — and keep them
Counters are your workspace, not storage. In a tiny kitchen, every item living on the counter permanently steals prep space.
The countertop audit
- Remove everything from the counters.
- Put back only what you use daily — for most people that's 2–3 items (kettle, cutting board, fruit bowl).
- Give everything else a permanent home: appliances you use weekly go in a cabinet, daily-use tools go on the wall rail.
- End every cooking session by returning items to their homes. Two minutes, every time.
Small appliances are the biggest counter hogs. Be honest: the bread maker you use twice a year doesn't get to live on the counter. Store occasional appliances in a high cabinet or even another room — the counter space is worth more than the convenience.
Tiny kitchen, big difference
Renovations are expensive; systems are free. Zone your kitchen by task, push storage up the walls and inside cabinet doors, tame the drawers, carve out a pantry wherever it fits, and defend your counters. Do it in one weekend, in this order — declutter, zone, then organize — and a kitchen that felt hopeless on Friday will feel twice as big by Sunday.