Renting a small apartment comes with a frustrating catch: you need storage badly, but drilling into the walls risks your deposit. The good news is that the best small-space storage barely involves walls at all. From freestanding shelves to tension rods to adhesive hooks that actually come off clean, here's how to double your storage without touching a drill — and how to keep your landlord happy when move-out day comes.
The Golden Rule: Store Furniture, Not Walls
When you rent, think of your storage as furniture you bring with you, not fixtures you add to the unit. Freestanding pieces travel with you to the next apartment, hold real weight without anchors, and need zero landlord permission:
- Narrow freestanding shelving units — a 12-inch-deep shelf fits almost any hallway, entryway, or bedroom gap, and holds books, baskets, and kitchen overflow.
- Storage ottomans and benches — seating plus hidden storage in one footprint. Perfect for blankets, board games, and out-of-season accessories.
- Cube organizers with fabric bins — affordable, modular, and the bins hide visual clutter behind a uniform look.
- Rolling carts — kitchen overflow, bathroom supplies, craft materials. They tuck into dead gaps and roll out when needed.
- Garment racks — if your closet is hopelessly small, a sturdy freestanding rack is a legitimate second wardrobe. Pair it with a fast closet declutter first so you're not just moving clutter to a rack.
Measure your doorways before buying tall shelving. The number one freestanding-furniture regret is a beautiful shelf that doesn't fit through the bedroom door — or up the stairwell.
Damage-Free Mounting: The Big Three
When furniture isn't enough, these three mounting methods add storage to walls, doors, and cabinets without a single hole:
1. Removable adhesive hooks
The workhorse of renter storage. Modern removable hooks hold surprising weight — check the rating on the package — and they work on doors, cabinets, tile, and smooth walls. Use them for:
- Keys, bags, and coats by the entryway
- Hair tools and styling products on the inside of cabinet doors
- Cleaning spray bottles inside the under-sink cabinet
- A small hook-and-loop broom grip for the broom and dustpan
The catch: they fail on rough or textured walls, fresh paint under 30 days old, and wallpaper. Always use the real removable strips from a reputable maker, not generic sticky tape — that's what separates "comes off clean" from "took the paint with it."
2. Tension rods
A tension rod is a mini shelf-support system that installs in seconds anywhere you have two facing surfaces: inside a cabinet, under a sink, between walls in a hallway nook. Ideas:
- Under the kitchen sink: a rod across the cabinet creates a hanging rail for spray bottles, doubling usable space below.
- Inside tall cabinets: horizontal rods act as dividers to stand cutting boards and baking sheets upright.
- In the closet: a second rod at a different height splits one tall hanging space into two — instant double wardrobe.
- Heavy-duty rods (with rubber end caps and higher weight ratings) can hold stacked bins or even a makeshift pantry shelf.
3. Over-door organizers
The backs of doors are acres of unused space. Over-door racks hang from the door itself — no screws, no adhesive — and come in versions for shoes, pantry goods, cleaning supplies, and bathroom toiletries. Check two things before buying: the hooks must clear your door's top gap (some doors sit too tight), and padded hooks prevent the rack from rattling or scuffing the door.
Room-by-Room: Where the Ideas Pay Off
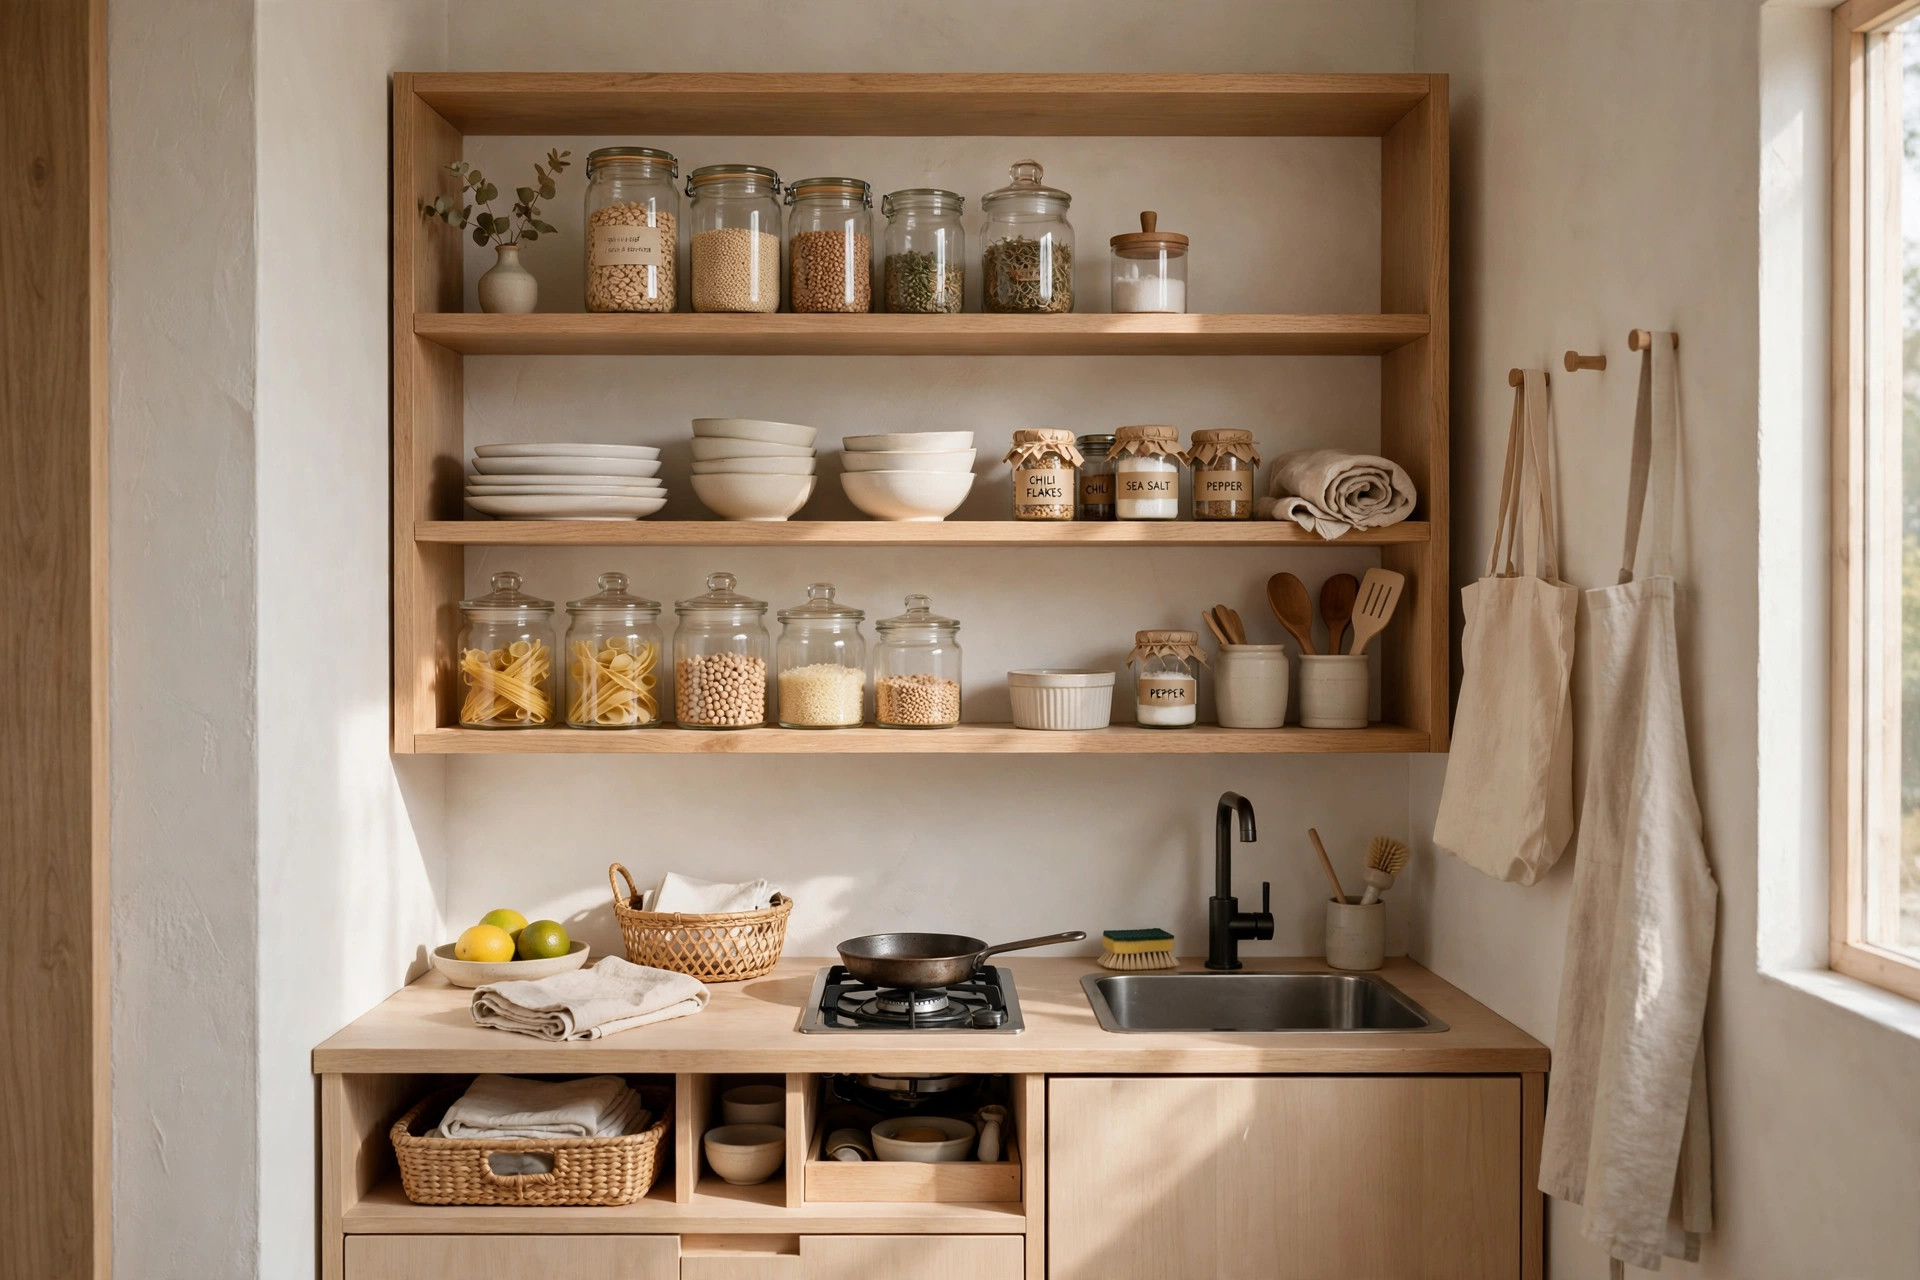
Kitchen: A rolling cart next to the fridge becomes a pantry annex; an over-door rack on the pantry door holds spices and wraps; a tension rod under the sink hangs cleaning supplies. If your tiny kitchen needs a full overhaul, our tiny kitchen organization guide is built for exactly this situation.
Bathroom: Over-door racks for toiletries, a rolling cart between the toilet and wall for paper goods, adhesive hooks inside cabinet doors for hair tools, and stackable bins under the sink. A shower caddy that hangs from the showerhead needs no mounting at all.
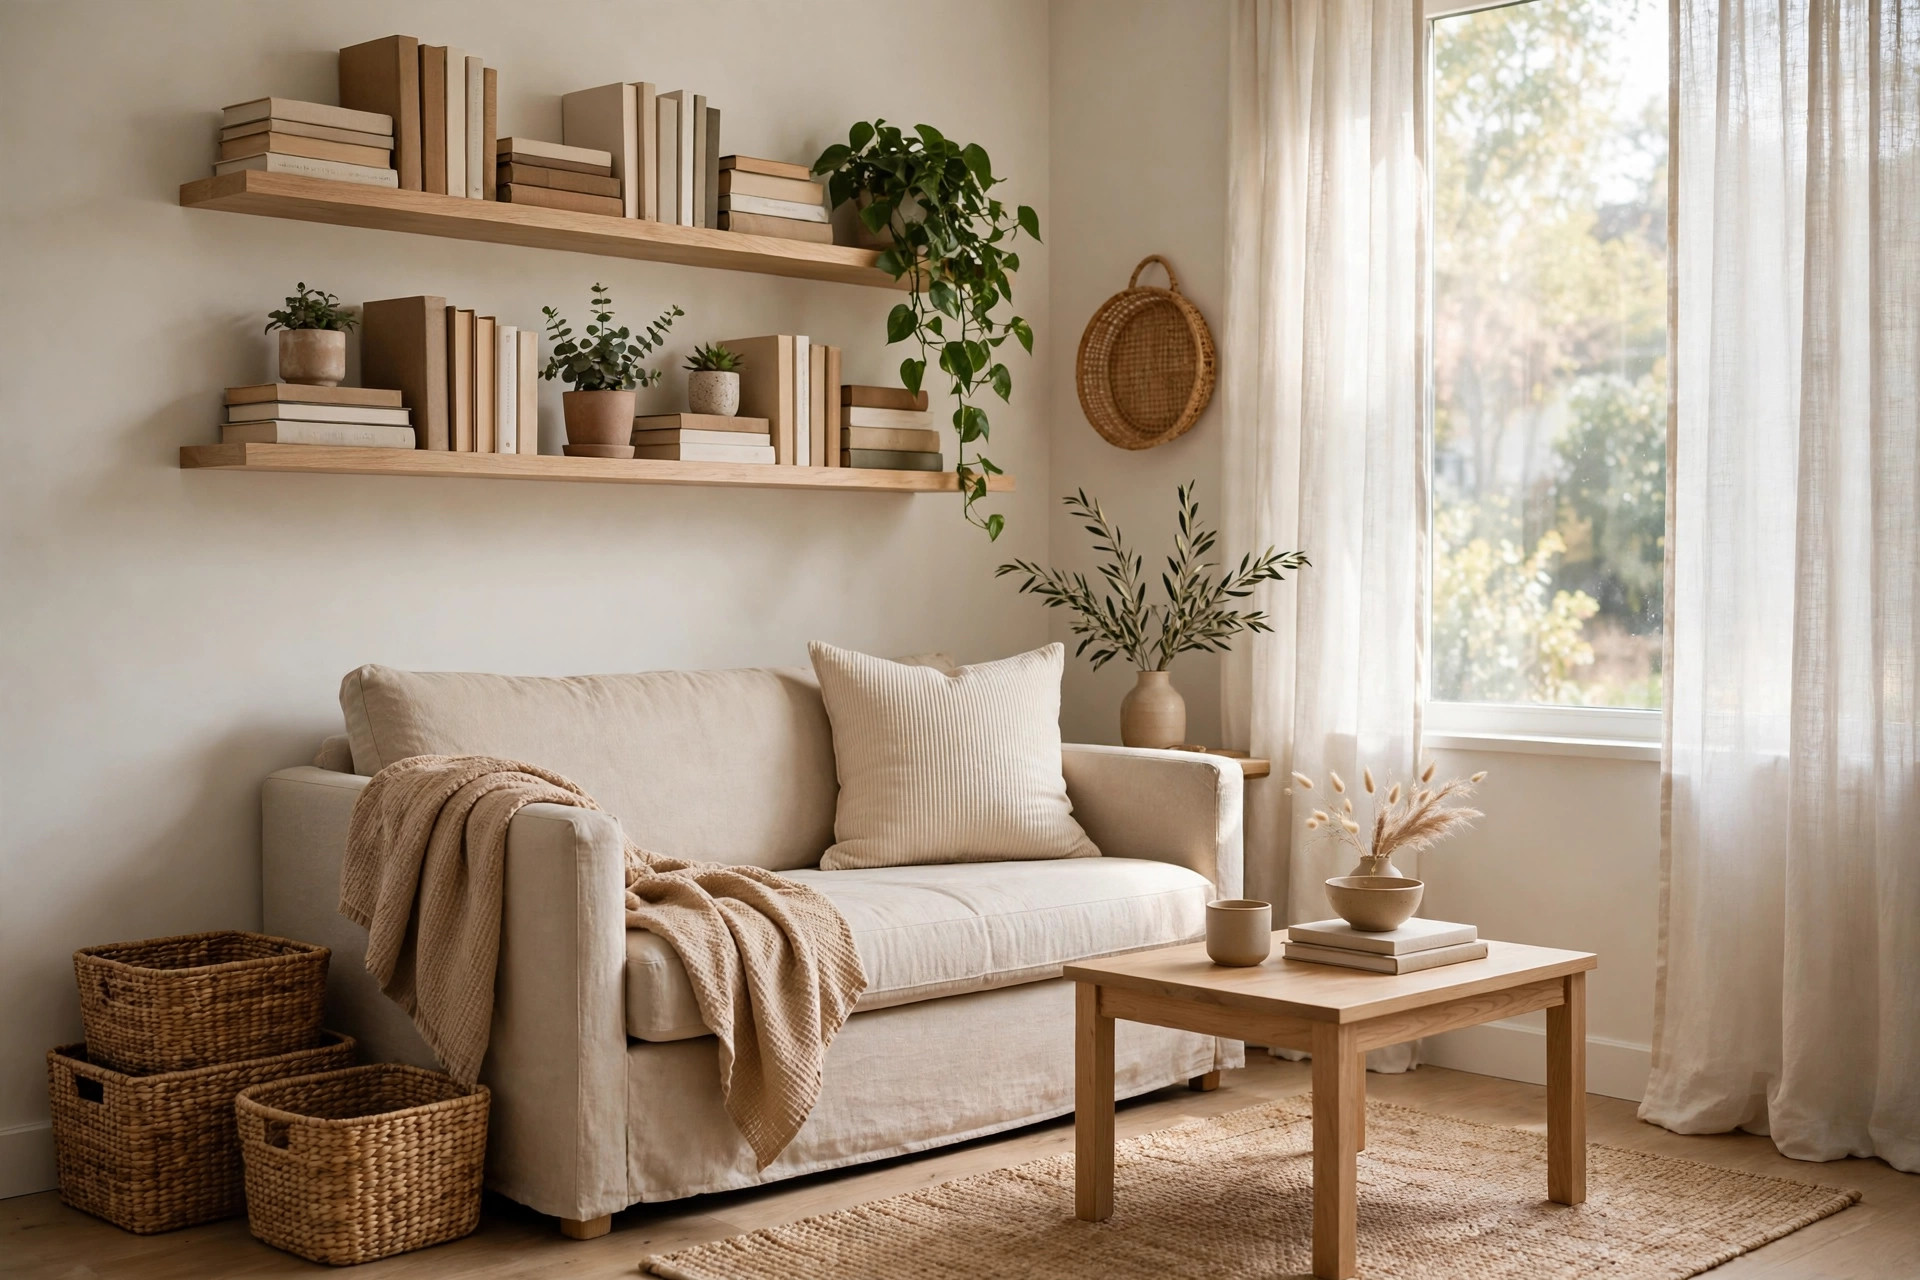
Living room: A tall narrow shelf in an unused corner, baskets inside cube storage for media and games, a leaning ladder shelf for plants and books (it rests against the wall with felt pads — no screws), and a storage ottoman as a coffee table.
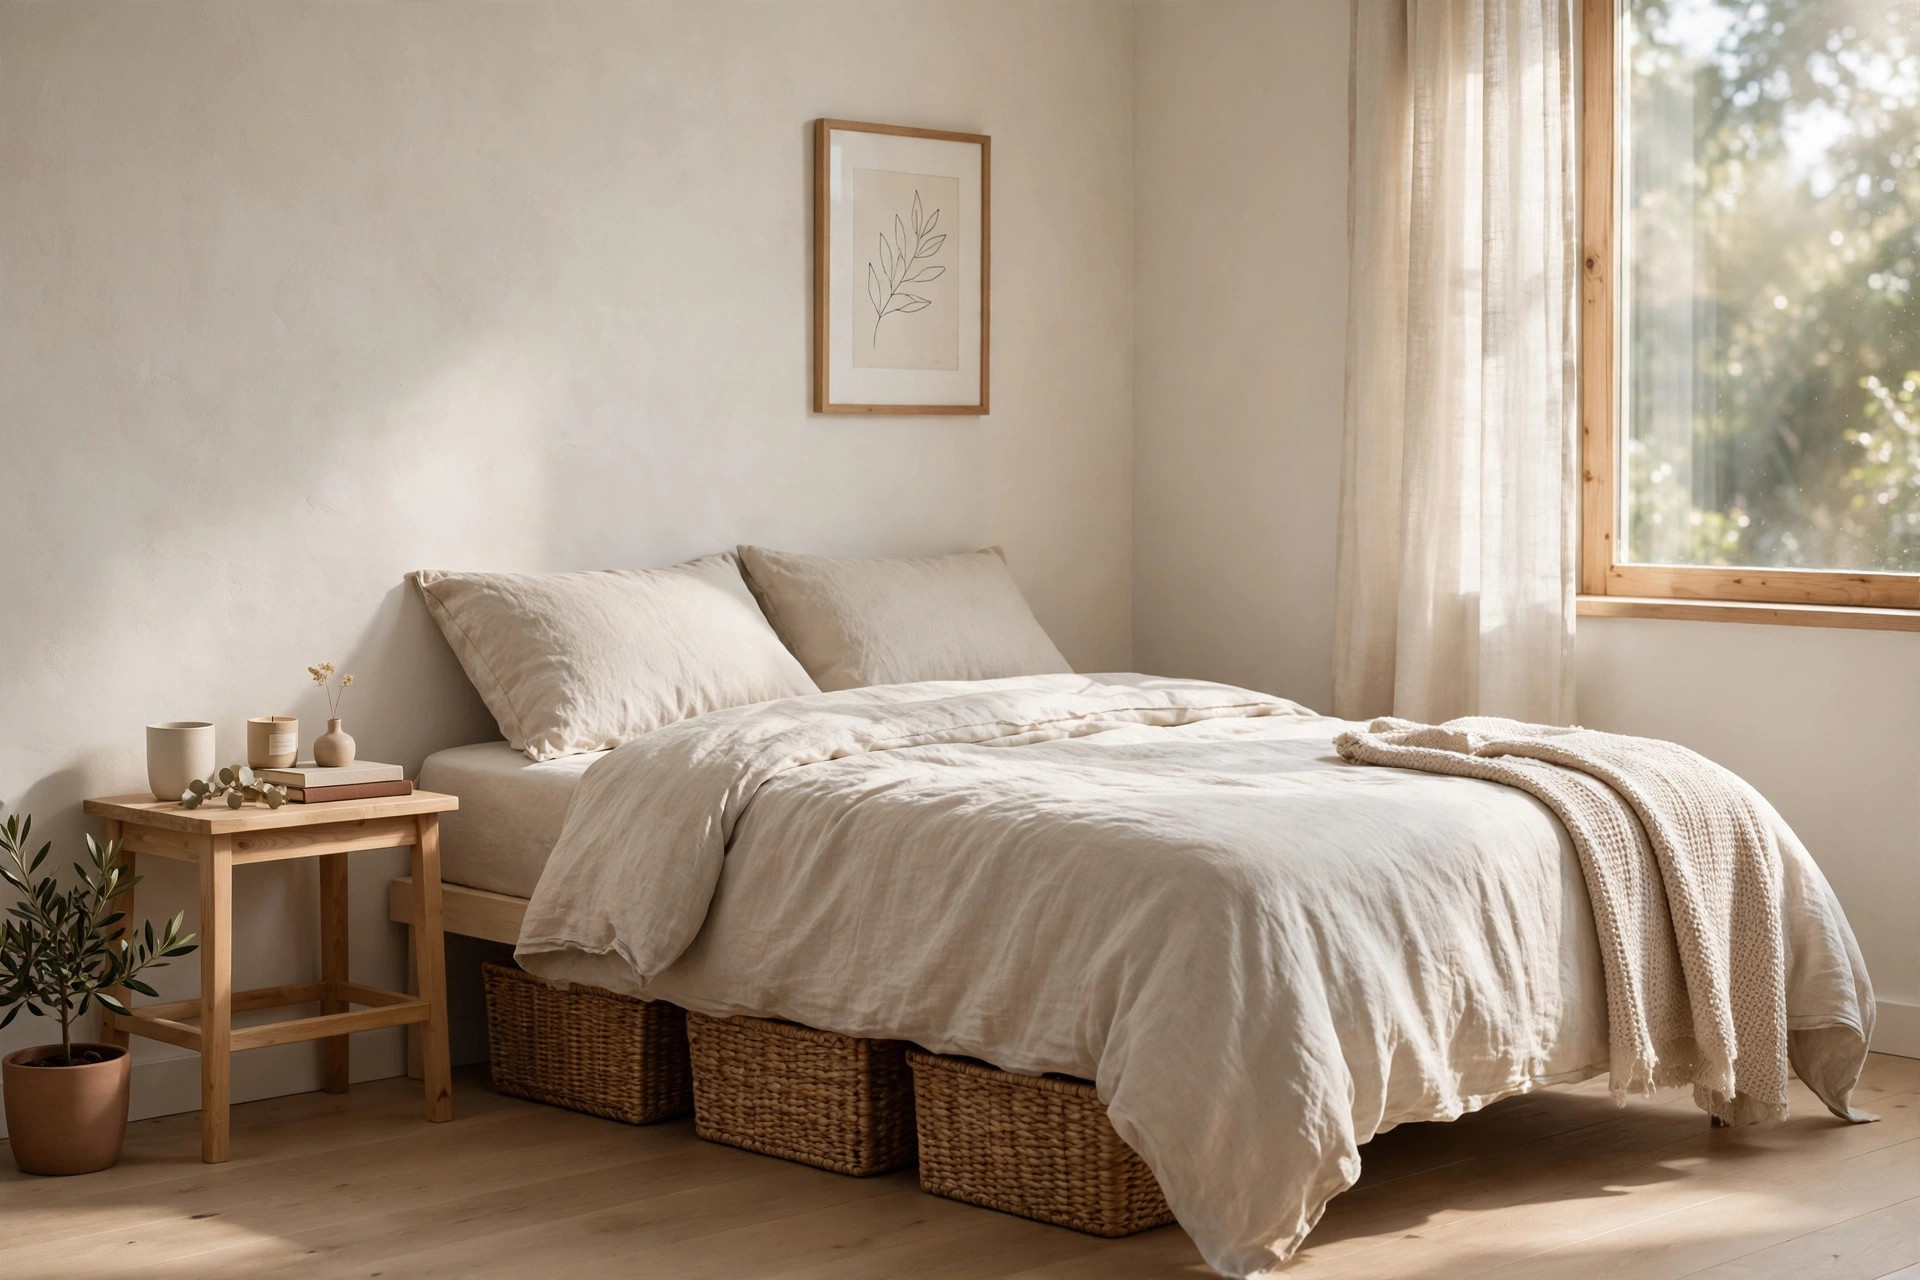
Bedroom: Under-bed space is the renter's secret weapon — bins on wheels or zippered bags slide under most bed frames and hold a surprising volume of off-season clothes. Pair that with small bedroom organization ideas on a budget and a 10×10 bedroom starts feeling like a suite. For maximum effect, check our under-bed storage DIY ideas — most need nothing more than bins and labels.
Lease-Friendly Rules of Thumb
Before any organizing project, protect yourself with these habits:
- Read the lease's modification clause. Most leases forbid holes over a certain size or any wall-mounting without permission — but freestanding furniture and removable adhesives almost never count as modifications.
- Photograph everything at move-in. Walls, floors, cabinets, inside closets. Timestamped photos are your deposit insurance.
- Ask in writing for gray areas. Want to install a small shelf with two screws? Email the landlord, get a yes in writing, save it. A verbal "sure" disappears at move-out.
- Test adhesives in a hidden spot first. Inside a closet, behind a door — anywhere a mark wouldn't show. Give it 48 hours before committing.
- Keep the original hardware. If you replace cabinet knobs or showerheads, bag the originals and store them with the lease paperwork.
Keep a small "move-out kit" in a drawer: white spackle, a putty knife, touch-up paint matched to your walls (ask the landlord for the color code at move-in), and a hair dryer for adhesive strip removal. Fifteen dollars of supplies saves hundreds in deposit deductions.
Getting Your Deposit Back: The Move-Out Reset
When it's time to leave, the damage-free approach pays for itself. Budget one full day for the reset:
- Remove all adhesive strips properly. Warm each strip with a hair dryer for 30 seconds, then pull straight down, slowly, along the wall — never yank outward. Rushing is what tears paint.
- Fill accidental holes. Small nail or screw holes: dab in spackle, let dry, sand smooth. Most landlords accept properly filled holes; gaping holes cost you.
- Touch up paint. One coat of the matched paint over filled spots blends them away. Don't repaint whole walls unless the lease requires it — bad DIY paint jobs cost more than the original scuff.
- Deep clean as you empty. Clean each area as you remove your organizers — behind the freestanding shelf, inside the cabinet where the tension rod lived.
- Photograph everything again. Same angles as move-in, timestamps on. If the deposit is disputed, these photos are your evidence.
Small Space, No Drill, No Problem
You don't need permission to have an organized home — you just need methods that respect the walls. Freestanding shelves for the heavy lifting, tension rods for the gaps, adhesive hooks for the small stuff, and over-door racks for the doors. Build the system around furniture you own, keep your move-out kit stocked, and you'll hand the keys back to an apartment that looks like you were never there. That's the renter's version of a renovation: total transformation, zero damage.