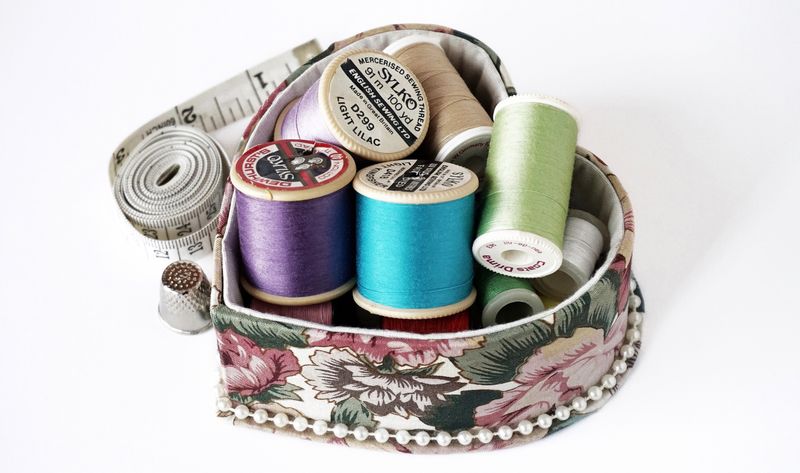
Craft supplies have a way of taking over. One minute it's a single skein of yarn and a pair of scissors; a few months later, beads are in the junk drawer, fabric is on the guest chair, and your dining table is permanently a work table. If that sounds familiar, these craft supplies storage ideas for small spaces are for you.
You don't need a dedicated craft room to stay organized. Every idea below is budget-friendly, renter-safe (no drilling required), and designed for apartments where every square foot counts. The goal isn't a picture-perfect studio — it's a system where you can find what you need and put it away in under two minutes.
Craft Supplies Storage Ideas for Small Spaces
1. Sort everything by craft first
Before buying a single bin, dump every craft supply into one pile and sort by craft: sewing, knitting, paper crafting, painting, and so on. Most small-space chaos comes from supplies being scattered across rooms, not from the volume itself. Once each craft lives in one zone, storage gets dramatically simpler.
2. Use a rolling cart as a mobile craft station
A three-tier rolling cart is the single best small-space craft investment. It holds tools, paints, and project supplies on three slim shelves, rolls to wherever you're working, and tucks into a closet or beside the sofa when you're done. No desk required, no permanent footprint.
3. Store small items in clear stackable boxes
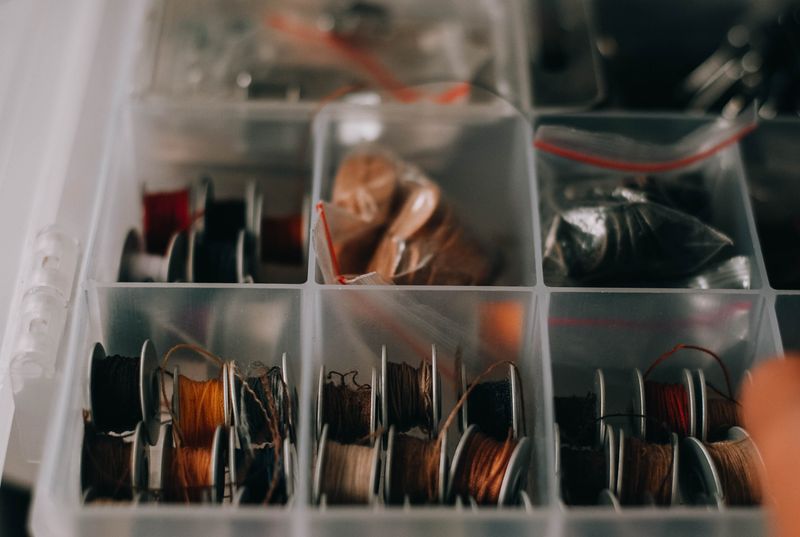
Beads, buttons, embroidery floss, and sequins disappear in opaque boxes. Small clear containers let you see exactly what's inside without opening ten lids. Stackable ones turn a single shelf or closet corner into a tiny parts library. Our junk drawer organization ideas use the same see-through principle for small items.
4. Hang a pegboard for tools you grab daily
Scissors, rulers, tape, paintbrushes, and washi tape all belong on a small pegboard hung above your work spot. Wall storage keeps the work surface clear, and pegboards are endlessly rearrangeable as your projects change. A freestanding pegboard leaned against the wall works just as well if your lease forbids drilling.
5. Corral yarn in a basket or tote — by color
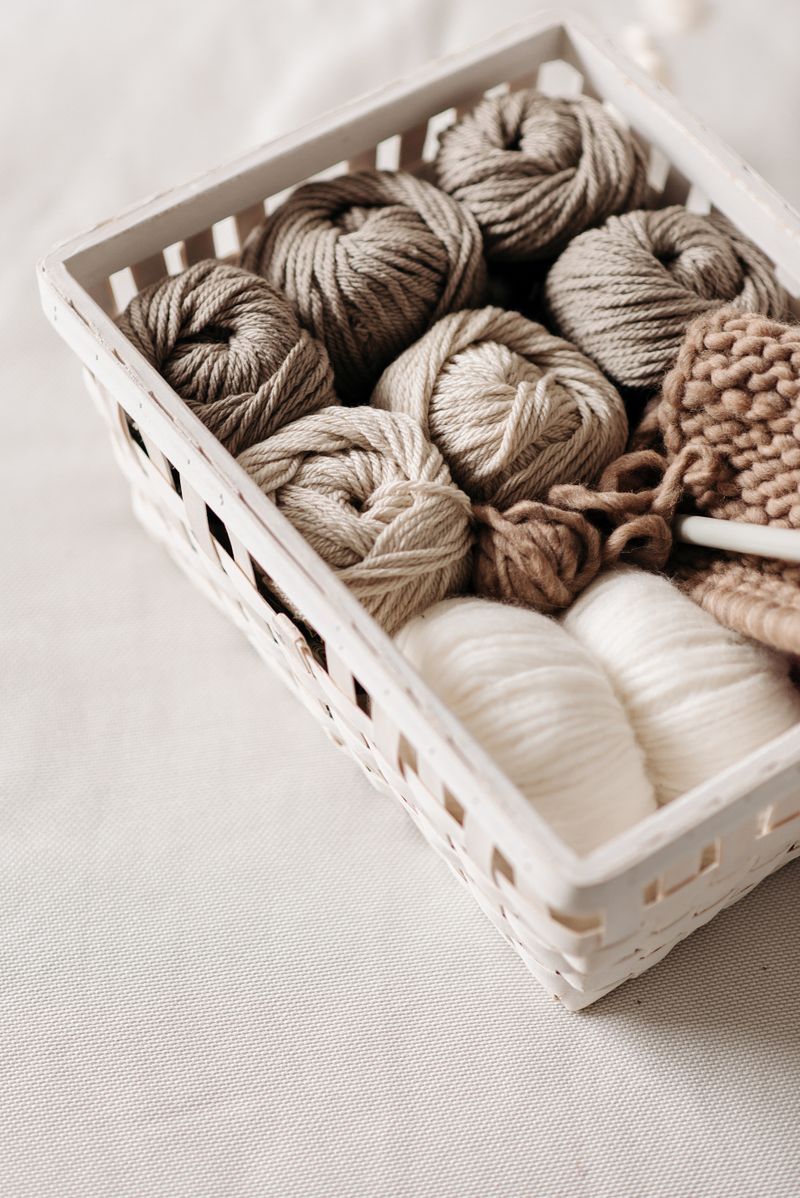
Yarn multiplies quietly. Keep it in one basket or tote, sorted loosely by color, and commit to the "one in, one out" rule: a new skein comes in only when an old one becomes a finished project. A single contained yarn home stops the slow spread across every surface in the apartment.
Budget-Friendly Craft Storage Tricks
6. Repurpose jars for brushes, pens, and notions
Mason jars, jam jars, and even sturdy food containers make perfect craft organizers — and they're free. One jar for paintbrushes, one for pens and markers, one for sewing notions. Transparent jars mean you never dig; lined up on a shelf, they look intentional rather than improvised.
7. Use the back of a door
An over-the-door organizer with clear pockets is ideal for ribbon, stickers, glue sticks, and small tools. It turns the inside of a closet or bedroom door into vertical storage that takes up zero floor space. Fully removable, fully renter-safe.
8. Store fabric in folded "file" stacks
Fold fabric pieces like files in a cabinet — standing upright in a bin or basket — instead of stacking them flat. You can see every print at a glance and pull one piece without disturbing the rest. A standard cube-shelf insert or even a shoebox-sized bin works for this.
9. Keep one "current project" bag
Active projects are the biggest clutter source. Keep exactly one project bag or box for whatever you're working on right now. When it's full or the project is done, you finish or rotate before starting another. This single rule prevents the "half-finished projects on every chair" problem.
Renter-Safe Craft Station Ideas
10. Build a craft corner on a folding table
No room for a permanent desk? A folding table against a wall becomes a full craft station when open and disappears behind a door when closed. Pair it with a slim drawer unit underneath for supplies, and you've got a craft room that folds flat. If you work at a regular desk too, our small home office organization ideas show how to make one surface serve double duty.
11. Use adhesive hooks inside cabinet doors
The insides of cabinet and closet doors are wasted space in most apartments. A few removable adhesive hooks inside hold scissors, rulers, and small supply caddies right where you work. Zero holes, zero damage, and your tools stay hidden when the door is closed.
12. Label every bin — even the obvious ones
Labels sound fussy until you realize they cut cleanup time in half. A label maker, chalkboard stickers, or even masking tape and a marker tells every household member (including future you) exactly where each category lives. Labeled bins stay organized; unlabeled bins become junk drawers.
13. Do a quarterly "stash audit"
Every three months, spend 20 minutes reviewing each craft zone: toss dried-out paint and broken tools, donate supplies for crafts you've outgrown, and consolidate half-empty containers. Houzz's roundup of craft space organization ideas echoes this — regular culling keeps a small system working, because a tiny space has no room for "someday" supplies. Coohom's guide to tiny craft nooks makes the same point about limiting materials to current projects.
Quick tip: The "photo test" keeps a small craft stash honest. Once a month, snap a photo of your craft corner. If the photo makes you wince, pick ONE category (yarn, paper, paint — whatever looks worst) and spend 15 minutes on just that. Small monthly resets beat a dreaded annual overhaul.
A craft stash isn't clutter when every supply has a home you can reach in one motion — the joy of making things shouldn't be buried under the stuff you make them with.
Frequently Asked Questions
How do I store craft supplies in a small apartment with no craft room?
Use a rolling cart or folding table as a mobile station, store supplies in clear stackable bins in one closet zone, and hang daily-use tools on a pegboard or adhesive hooks. The key is one contained zone per craft, so supplies never scatter across rooms.
What's the cheapest way to organize craft supplies?
Start free: repurpose jars and shoeboxes, sort by craft, and do the quarterly stash audit. If you buy one thing, make it a three-tier rolling cart — it's the most versatile small-space craft storage you can own for the price.
How do I keep craft supplies organized as a renter?
Stick to freestanding and removable solutions: rolling carts, over-the-door organizers, leaning pegboards, folding tables, and adhesive hooks. Everything comes down without a trace when you move. See our renter-friendly storage ideas for more no-damage tricks.
How often should I declutter craft supplies?
Do a quick 20-minute stash audit every three months: discard dried paint and broken tools, donate supplies for crafts you've stopped doing, and consolidate half-empty containers. Small spaces fill up fast, so frequent light culling beats rare big purges.
You don't need a bigger apartment to be a crafter — you need a system that fits the apartment you have. Start with the sort, set up one mobile station, and let the quarterly audit keep it honest. If you're new to small-space living, our start-here guide walks you through organizing every room, one manageable step at a time.